It cannot infer every unstated preference
A short prompt may leave the subject, framing, era, materials, or mood open to interpretation.
Workaround
State the three details that matter most, then add secondary details only after the first result.
Beginner guide
This practical guide to how to use ideogram for beginners takes you from a rough idea to a polished image with a simple, repeatable workflow. Start with a focused prompt, review the first result, then refine one detail at a time.
Start here
You do not need design software or a technical background. Prepare a clear idea, a little time to compare results, and a way to save the version you prefer.
Decide what you want to make before writing the prompt: a poster, product image, character, illustration, social graphic, or another defined format.
Name the subject, setting, style, mood, colors, composition, and any visible words. Put the most important information near the beginning.
Generate a first set, identify the strongest result, and change only one or two prompt details at a time so you can see what improved.
Before generating
Use this checklist before opening the image generator. Required items keep the prompt focused; optional choices help you control the look without making the instruction confusing.
Without every one of these the route does not run.
A specific subject or main object
Replace broad ideas such as “something beautiful” with a visible subject.
A defined output type or use
Say whether you want a poster, logo concept, portrait, scene, product shot, or illustration.
A visual direction
Include a style, mood, lighting approach, color palette, or composition when it matters.
Skip any of these and the route still works — they only make it faster.
Readable text written exactly
Put quoted words in the prompt and keep the wording short for easier review.
A reference image or visual example
Use one when matching a pose, layout, color relationship, or general visual direction is important.
A short list of things to avoid
Mention unwanted elements such as extra objects, cluttered backgrounds, or a specific color.
Useful next reads
Most weak first results come from unclear priorities rather than a lack of creativity. These related guides cover focused ways to improve an ideogram workflow.
Compare results
A useful refinement is easier to understand when you compare the starting prompt with a more controlled version. The difference is usually clearer priorities, not simply more words.
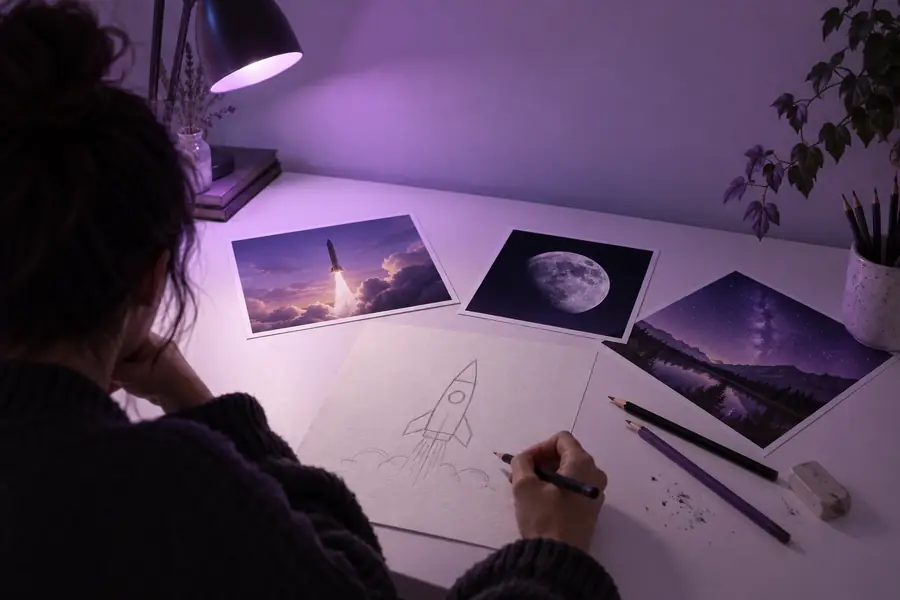 First attempt
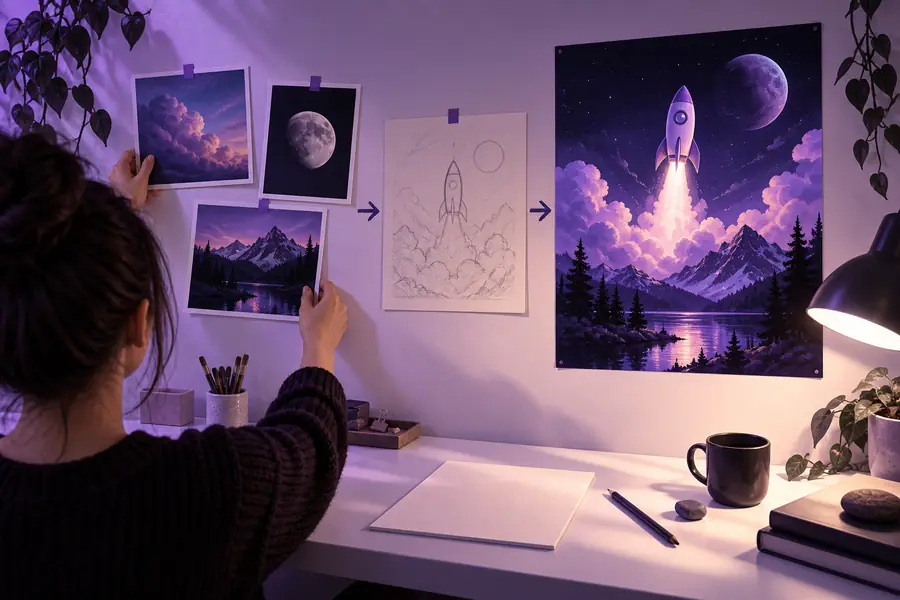 Refined attempt
Know the limits
Ideogram can help you explore and refine visual ideas, but a beginner workflow still has boundaries. Plan for review instead of expecting every first generation to be final.
A short prompt may leave the subject, framing, era, materials, or mood open to interpretation.
Workaround
State the three details that matter most, then add secondary details only after the first result.
Signs, labels, posters, and packaging can require several attempts, especially when the copy is long or tightly arranged.
Workaround
Use short exact wording, inspect every letter, and keep a separate design tool available for final typesetting.
A single image may have the right subject but the wrong crop, palette, expression, or background.
Workaround
Generate a small range of alternatives and compare them against one clear goal.
An attractive result can still contain awkward anatomy, unwanted objects, inconsistent details, or an unsuitable message.
Workaround
Zoom in, check the full composition, and revise before sharing or using the image publicly.
Workflow timeline
The beginner process has become more structured as image generation moved from experimentation toward practical visual production.
People began with simple descriptions of a subject and style, learning through quick visual experiments rather than formal design software.
Creators increasingly separated subject, setting, composition, lighting, and mood so they could diagnose why an image missed the goal.
Instead of searching for one perfect sentence, beginners learned to compare variations and make small, traceable changes between attempts.
A practical process now treats the generated image as a starting point for selection, correction, layout review, and final use.
Quick answers
These answers address the first questions beginners usually have when starting an ideogram image workflow.
Start with the subject and intended format, then add the setting, visual style, mood, colors, and composition that matter most. A focused prompt is usually easier to improve than a long list of unrelated adjectives.
Include the details that define the image: what is shown, where it is, how it should look, and how it should be framed. Leave minor choices open at first, then add constraints when the first result reveals what needs changing.
Keep the parts that worked and revise one or two specific details, such as the camera angle, background, palette, or subject description. Changing everything at once makes it difficult to learn which instruction improved the result.
Yes, but visible wording needs careful checking after generation. Keep the copy short, write it exactly in the prompt, and inspect every character before treating the image as finished.
Judge each image against the original goal rather than choosing only the most dramatic one. Check subject accuracy, composition, readability, unwanted elements, and whether the result is suitable for its intended use.