The note-maker
You have several pages of reading notes but no clear revision structure.
Generate a visual concept map or timeline, then check every label against your notes before studying from it.
ideogram promptsStudent project lab
Ideogram examples for students can turn a rough assignment idea into a visual study guide, presentation asset, or project concept in minutes. Start with a focused prompt and refine the result for your class.
Student work often has strong ideas but limited time for visual planning. These related guides help you move from a blank page to a clearer, more polished result.
Choose a workflow based on the assignment, then keep the academic thinking in your own hands. The generated image is a draft or communication aid, not a substitute for research.
You have several pages of reading notes but no clear revision structure.
Generate a visual concept map or timeline, then check every label against your notes before studying from it.
ideogram promptsYour group needs a strong opening slide or visual metaphor for a class presentation.
Create a wide scene or symbolic illustration, crop it for the slide, and add final text in your presentation software.
ideogram text renderingA design, science, or engineering assignment is difficult to explain before the prototype exists.
Use a labeled concept image to communicate form and direction, while clearly marking it as an early visualization.
ideogram generatorYou want memorable visual cues for vocabulary, grammar themes, or cultural topics.
Pair a simple scene with a small set of reviewed words, then use the image as a speaking or recall prompt.
how to use ideogram for beginnersA useful student image is not merely attractive. It makes the assignment easier to explain, revise, present, or remember.
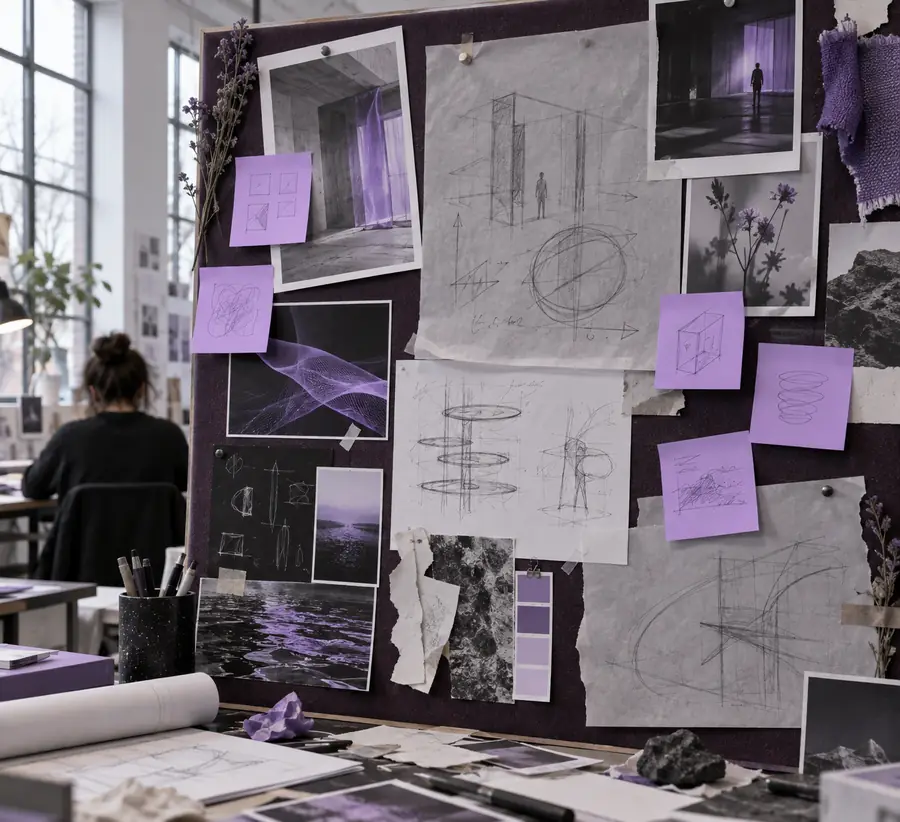 Rough assignment idea
 Usable visual draft
Academic use works best when students preserve authorship, verify information, and follow the rules for their course or institution.
minutes
minutes
minutes
The best approach depends on whether the image is helping you think, communicate, or practice.
Choose this when
Generate several distinct visual directions with different subjects or compositions.
Variation helps you compare possibilities before committing to one project path.
Choose this when
Create a simple image with clear space for your own title, citations, and explanatory text.
A restrained visual supports the argument instead of competing with the slide.
Choose this when
Check course rules first and use the image only where its role is allowed and clearly understood.
Requirements for disclosure, originality, and permitted tools differ by class and institution.
A small planning estimate makes the workflow easier to manage during a busy study session. Adjust the numbers to match your review standard and assignment deadline.
Answers to common questions about using image generation for schoolwork and student projects.
Useful examples include study-guide illustrations, timelines, presentation backgrounds, science concept visuals, vocabulary scenes, and early project mockups. The strongest use cases clarify an idea or support communication rather than replace the student's explanation.
Often, a generated image can support a presentation, but the student should check the class instructions and any required disclosure. Add the final title, citations, labels, and interpretation yourself so the image does not imply research it does not contain.
Name the topic, audience, visual format, important elements, and desired level of detail. For example, ask for a classroom infographic about a defined subject with labeled sections, then review the output for accuracy and readability.
They can illustrate a factual assignment, but they should not be trusted as an authority. Verify every scientific, historical, geographic, or quoted detail against approved course materials and remove any misleading visual claim.
Use generation as brainstorming, visualization, or drafting support when permitted, and keep your written reasoning, research, editing, and final presentation your own. Follow the teacher's policy on attribution or disclosure, especially for graded work.