Brand designers
Define the audience, campaign message, aspect ratio, and visual mood before drafting the prompt.
A focused brief produces a usable first concept instead of a generic mood image.
ideogram text renderingPrompt craft
Ideogram prompts work best when they turn a vague idea into specific visual direction. Use the prompt console to describe a scene, style, layout, and text with enough detail to guide the result.
Start here
Before writing ideogram prompts, decide what the image must communicate, where it will appear, and which details cannot be left to chance.
Define the audience, campaign message, aspect ratio, and visual mood before drafting the prompt.
A focused brief produces a usable first concept instead of a generic mood image.
ideogram text renderingName the subject, action, setting, medium, lighting, palette, and point of view in plain language.
The model receives a practical scene plan while leaving room for visual interpretation.
ideogram generatorDescribe the character's identity, clothing, pose, expression, and continuity details separately.
Important character traits stay visible across a more controlled generation workflow.
ideogram characterSpecify the platform, crop, headline, supporting copy, and the action the viewer should take.
Prompts become easier to revise for posts, thumbnails, and campaign variations.
ideogram text renderingPrompt anatomy
A strong prompt usually moves from the main subject to the setting, visual treatment, composition, and any exact wording that must appear.
Full workflow
Use this short sequence to turn a loose idea into a prompt that is specific enough to test and flexible enough to improve.
Start with the subject and intended use: a travel poster, product hero, editorial portrait, classroom illustration, or another concrete outcome.
Layer in setting, camera angle, lighting, color palette, medium, composition, and mood. Put the most important details near the beginning.
Check the first image against the brief. Keep what works, then change one variable at a time so you can tell which instruction improved the result.
Know the edges
Prompts guide generation, but they do not guarantee perfect typography, exact brand assets, or identical outputs on every attempt.
Words such as beautiful, professional, or cool do not define a visible result on their own.
Workaround
Replace them with observable choices such as soft window light, restrained navy palette, or clean editorial layout.
A prompt that mixes several subjects, art directions, and layouts can produce a confused image.
Workaround
Choose one primary subject and move secondary details into a short supporting clause.
Long copy, tiny labels, and complex spelling may not render perfectly even when written clearly.
Workaround
Keep required wording short, state it in quotation marks, and use a text-focused workflow for revisions.
Adding more adjectives does not automatically make the image more accurate or consistent.
Workaround
Prioritize the subject, action, composition, and must-have constraints before decorative detail.
Revision example
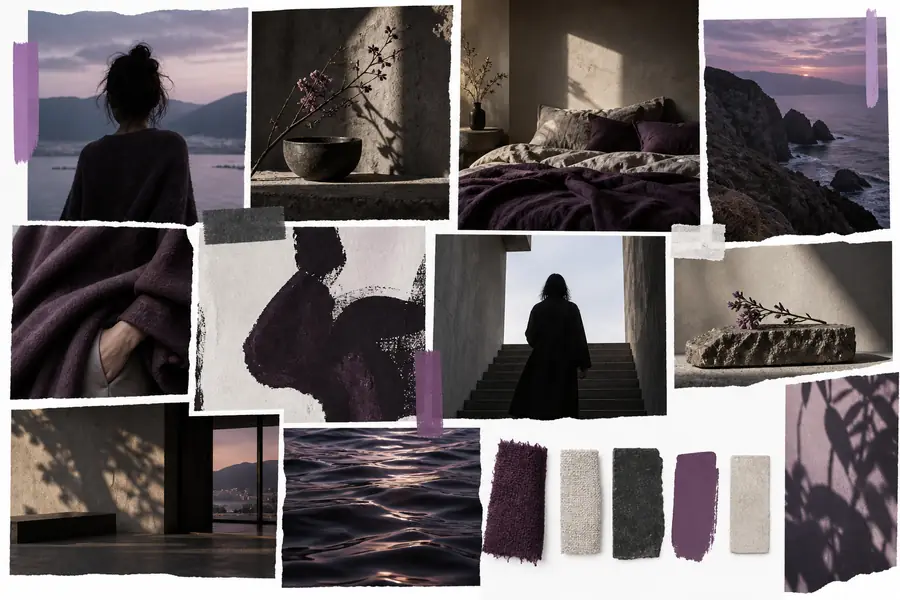 Loose brief
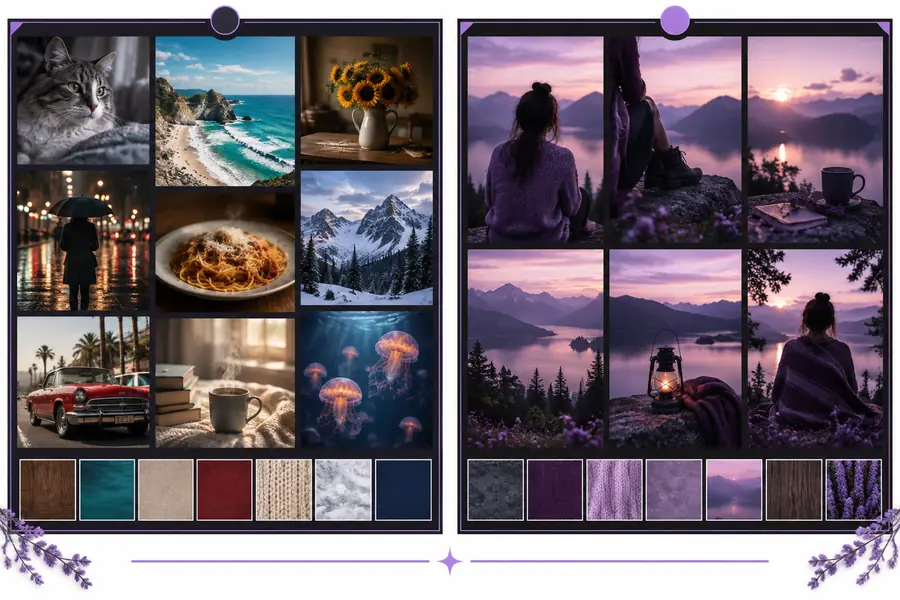 Directed prompt
Plan your batch
prompts
minutes
minutes
Common questions
Start with the main subject, then describe the setting, action, style, composition, lighting, and color direction. Add exact wording or layout requirements separately so the most important constraints are easy to identify.
There is no single ideal length. A concise prompt with clear visual details is usually more useful than a long list of loosely related adjectives, so begin with the essentials and expand only when a result needs correction.
Keep a reusable structure and change one variable at a time, such as the camera angle, palette, or medium. Repeating the same subject and composition language makes differences between iterations easier to evaluate.
Short, prominent wording is generally easier to direct than paragraphs or tiny labels, but generated text can still need correction. Use quotation marks for required words and keep a text-focused workflow available for important designs.
The prompt may contain competing subjects or describe the desired layout too late. Put the primary subject and composition near the beginning, state the viewing angle clearly, and simplify secondary details before trying again.